quickstart_mujoco-1.2.install and overview
1.Install
- 위 release list에서 사전빌드된 mujoco-3.1.4-macos-universal2.dmg를 다운로드
1
2
3
4
5
6
7
$ mkdir my_mujoco
$ cp -r [.dmg파일경로] my_mujoco
$ cd my_mujoco
$ cp -r MuJoCo.app /Applications #기존 MuJoCo.app은 삭제
# 정상 설치 확인
$ cd /Applications/MuJoCo.app/Contents/MacOS
$ ./simulate [my_mujoco경로]/model/humanoid/humanoid.xml
2.Model instance
Mujoco에는 model이라는 entity가 있다.
user는 model을 MJCF or URDF으로 작성된 XML file로 정의한다.
같은 model의 여러 instance를 다양한 media (file or memory)와 다른 levels of description (high or low)으로 생성할 수 있다.
high level은 user convenience를 위해 존재한다. 목적은 수행될 수 있는 computation위의 low level model로 compile하는 것이다.
| High level | Low level | |
|---|---|---|
| File | MJCF/URDF (XML) | MJB (binary) |
| Memory | mjCModel (C++ class) | mjModel (C struct) |
수동으로 생성하기 너무 복잡한 runtime computations은 mjModel으로 수행
mjModel은 binary file (MJB)로 load 및 save가능.
(MJB는 version-specific하기 때문에 decompile될 수 없으므로, model은 XML files로 유지되어야한다.)
내부적으로, C++ class mjCModel은 MJCF file format과 one-to-one관계이다.
(The XML parser가 the MJCF or URDF file을 interprets하고 corresponding하는 `mjCModel를 creates한다. 원칙적으로 역의 과정도 가능하지만, 아직 미개발)
즉 mjModel를 얻기 위한 방식은 다음과 같다.
- (text editor) → MJCF/URDF file → (MuJoCo parser → mjCModel → MuJoCo compiler) → mjModel
- MJB file → (MuJoCo loader) → mjModel
(user code) → mjCModel → (MuJoCo compiler) → mjModel(not yet available..)
3.Examples
1
2
3
4
5
6
7
8
9
10
11
12
13
14
15
16
17
18
19
20
21
22
23
24
25
26
27
28
29
30
31
32
33
34
35
36
37
38
39
40
41
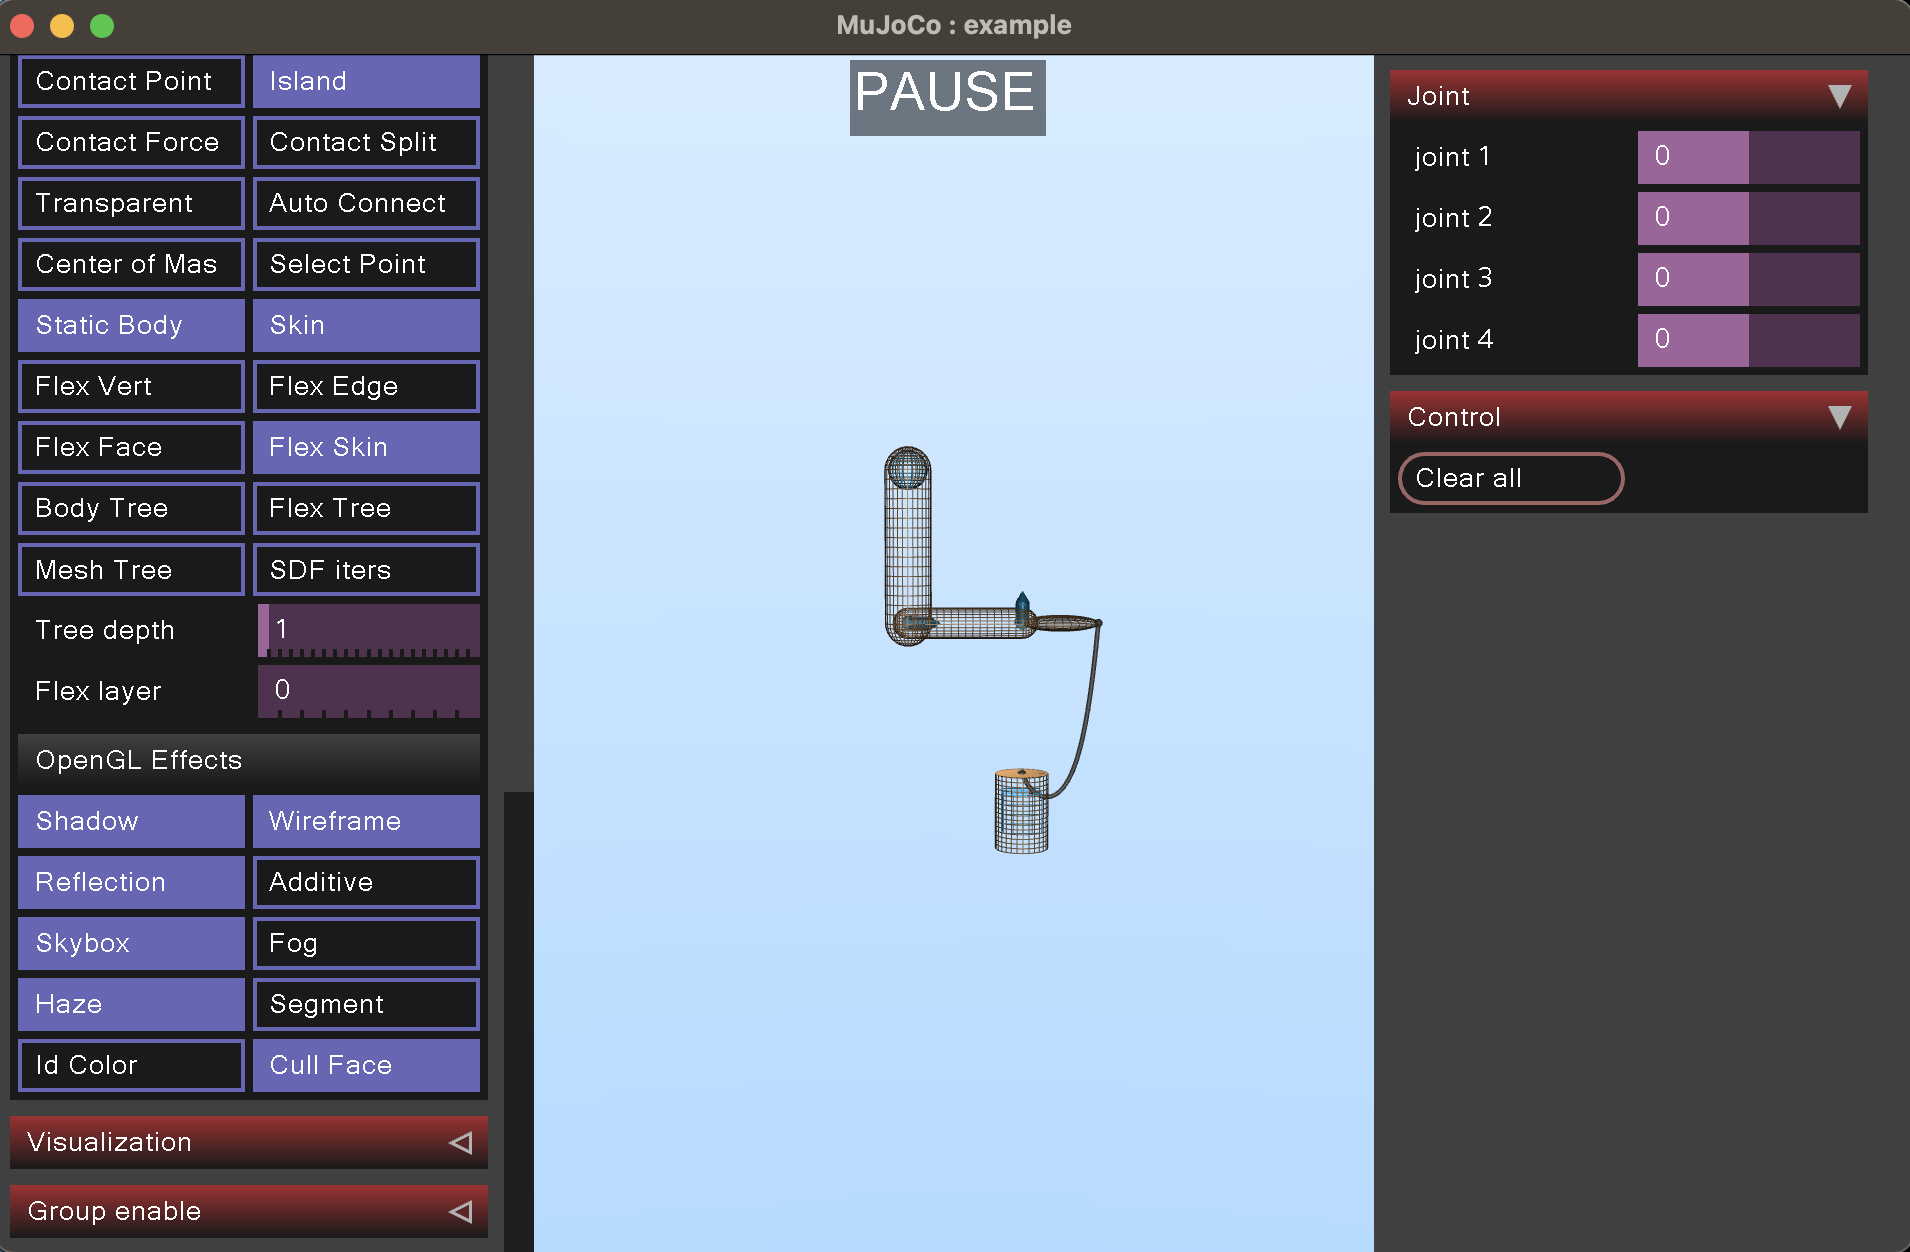
<mujoco model="example">
<default class="type-1">
<geom rgba=".8 .6 .4 1"/>
</default>
<asset>
<texture type="skybox" builtin="gradient" rgb1="1 1 1" rgb2=".6 .8 1" width="256" height="256"/>
</asset>
<worldbody>
<light pos="0 1 1" dir="0 -1 -1" diffuse="1 1 1"/>
<body pos="0 0 1">
<joint type="ball"/>
<geom type="capsule" size="0.06" fromto="0 0 0 0 0 -.4"/>
<body pos="0 0 -0.4">
<joint axis="0 1 0"/>
<joint axis="1 0 0"/>
<geom type="capsule" size="0.04" fromto="0 0 0 .3 0 0"/>
<body pos=".3 0 0">
<joint axis="0 1 0"/>
<joint axis="0 0 1"/>
<geom pos=".1 0 0" size="0.1 0.08 0.02" type="ellipsoid"/>
<site name="end1" pos="0.2 0 0" size="0.01"/>
</body>
</body>
</body>
<body pos="0.3 0 0.1">
<joint type="free"/>
<geom size="0.07 0.1" type="cylinder"/>
<site name="end2" pos="0 0 0.1" size="0.01"/>
</body>
</worldbody>
<tendon>
<spatial limited="true" range="0 0.6" width="0.005">
<site site="end1"/>
<site site="end2"/>
</spatial>
</tendon>
</mujoco>
3.1.[Python]simulation code(robosuite)
Running Standardized Environments
1
2
3
4
5
6
7
8
9
10
11
12
13
14
15
16
17
18
19
import numpy as np
import robosuite as suite

# create environment instance
env = suite.make(
    env_name="Lift", # try with other tasks like "Stack" and "Door"
    robots="Panda",  # try with other robots like "Sawyer" and "Jaco"
    has_renderer=True,
    has_offscreen_renderer=False,
    use_camera_obs=False,
)

# reset the environment
env.reset()

for i in range(1000):
    action = np.random.randn(env.robots[0].dof) # sample random action
    obs, reward, done, info = env.step(action)  # take action in the environment
    env.render()  # render on display
3.2.1[C++]simulation code
simulation code about passive dynamics without rending
1
2
3
4
5
6
7
8
9
10
11
12
13
14
15
16
17
18
19
20
21
22
23
24
25
26
27
28
29
30
#include "mujoco.h"
#include "stdio.h"

char error[1000];
mjModel* m;
mjData* d;

int main(void)
{
   // load model from file and check for errors
   m = mj_loadXML("hello.xml", NULL, error, 1000);
   if( !m )
   {
      printf("%s\n", error);
      return 1;
   }

   // make data corresponding to model
   d = mj_makeData(m);

   // run simulation for 10 seconds
   while( d->time<10 )
      mj_step(m, d);

   // free model and data
   mj_deleteData(d);
   mj_deleteModel(m);

   return 0;
}
3.2.2.how to compile
complie 방법:
- make(지원종료)
mujoco관리자가 makefile은 유지관리되지않는다고 한다. cmake로 빌드권장.(#666)
그래도 sample, simulation디렉토리에 대해서 make시도해봄..
- mujoco-3.1.4-macos-universal2의 경우, makefile내의 변수 MUJOCOPATH를 Mujoco.app측 framework가 아닌 소스파일 근처의 framework를 가리키도록 해야한다.
(Mujoco.app측 framework을 가리키면 빌드안됨. symbolic link문제 인것같다.(#882))
예컨데 sample디렉토리면, MUJOCOPATH를 다음과 같이 정의한다.
1
MUJOCOPATH=..
- lodepng.h, lodepng.cc
lodepng.h, lodepng.cc가 없었음. 그래서 lodepng.h, lodepng.cc 다운로드.
- simulate디렉토리(#929)
빌드에러를 보고 참조되는 파일들을 하나씩 추가하여 아래와 같이 makefile을 수정했고, 빌드를 성공했다.
1
2
3
4
5
6
7
8
9
10
11
12
13
14
15
16
17
18
19
# This Makefile also assumes that MuJoCo.app is present in /Applications.

GLFWROOT?=$(shell brew --prefix)
# MUJOCOPATH?=/Applications/MuJoCo.makeapp/Contents/Frameworks
MUJOCOPATH=..

CFLAGS=-O2 -F$(MUJOCOPATH) -I$(GLFWROOT)/include -pthread
CXXFLAGS=$(CFLAGS) -std=c++17 -stdlib=libc++
ALLFLAGS=$(CXXFLAGS) -L$(GLFWROOT)/lib -Wl,-rpath,$(MUJOCOPATH)

all:
	clang++ $(CXXFLAGS)      -c macos_gui.mm
	clang++ $(CXXFLAGS)      -c simulate.cc
# clang $(CFLAGS) -std=c11 -c uitools.c
	clang++ $(CXXFLAGS)      -c platform_ui_adapter.cc
	clang++ $(ALLFLAGS) main.cc lodepng.cc glfw_adapter.cc macos_gui.o simulate.o platform_ui_adapter.o glfw_dispatch.cc glfw_corevideo.mm -framework CoreVideo -framework mujoco -framework Cocoa -lglfw -o simulate
clean:
	rm *.o
cmake (공식지원, 참고 )
공식 repo에서 git clone하고 다음과 같이 build.
1
2
3
4
Clone the mujoco repository from GitHub.
Create a new build directory somewhere, and cd into it.
Run cmake $PATH_TO_CLONED_REPO to configure the build.
Run cmake --build . to build.